
Hey everyone! I hope you had a lovely weekend, it's been really sunny here for the past few days which has been a nice break from the usual dreary weather, but it's gone back to rain again now. Over the weekend I attended to Scratch Star Awards, where I was shortlisted for Best Nail Blog. Unfortunuately I didn't win, but Sammy did and she definitely deserved it more than I did, her blog is iconic. I'll be doing a full post on the event (and my nails of course) in the next few days but I wanted to post a tutorial today, as it's been so long since I did 'tutorial tuesday'.
Today's tutorial is for these cute and simple floral stripes. I've done designs similar to this in the past using different shades, but it's always nice to see how I've progressed and also experiment with different colours against 'old' designs. You also can't go wrong with an easy combination of flowers and stripes. I was asked my Barry M to create some tutorials using their spring releases back in March, and this was one of the looks I created using the Sunset Gel polishes*. Tutorial is after the jump.
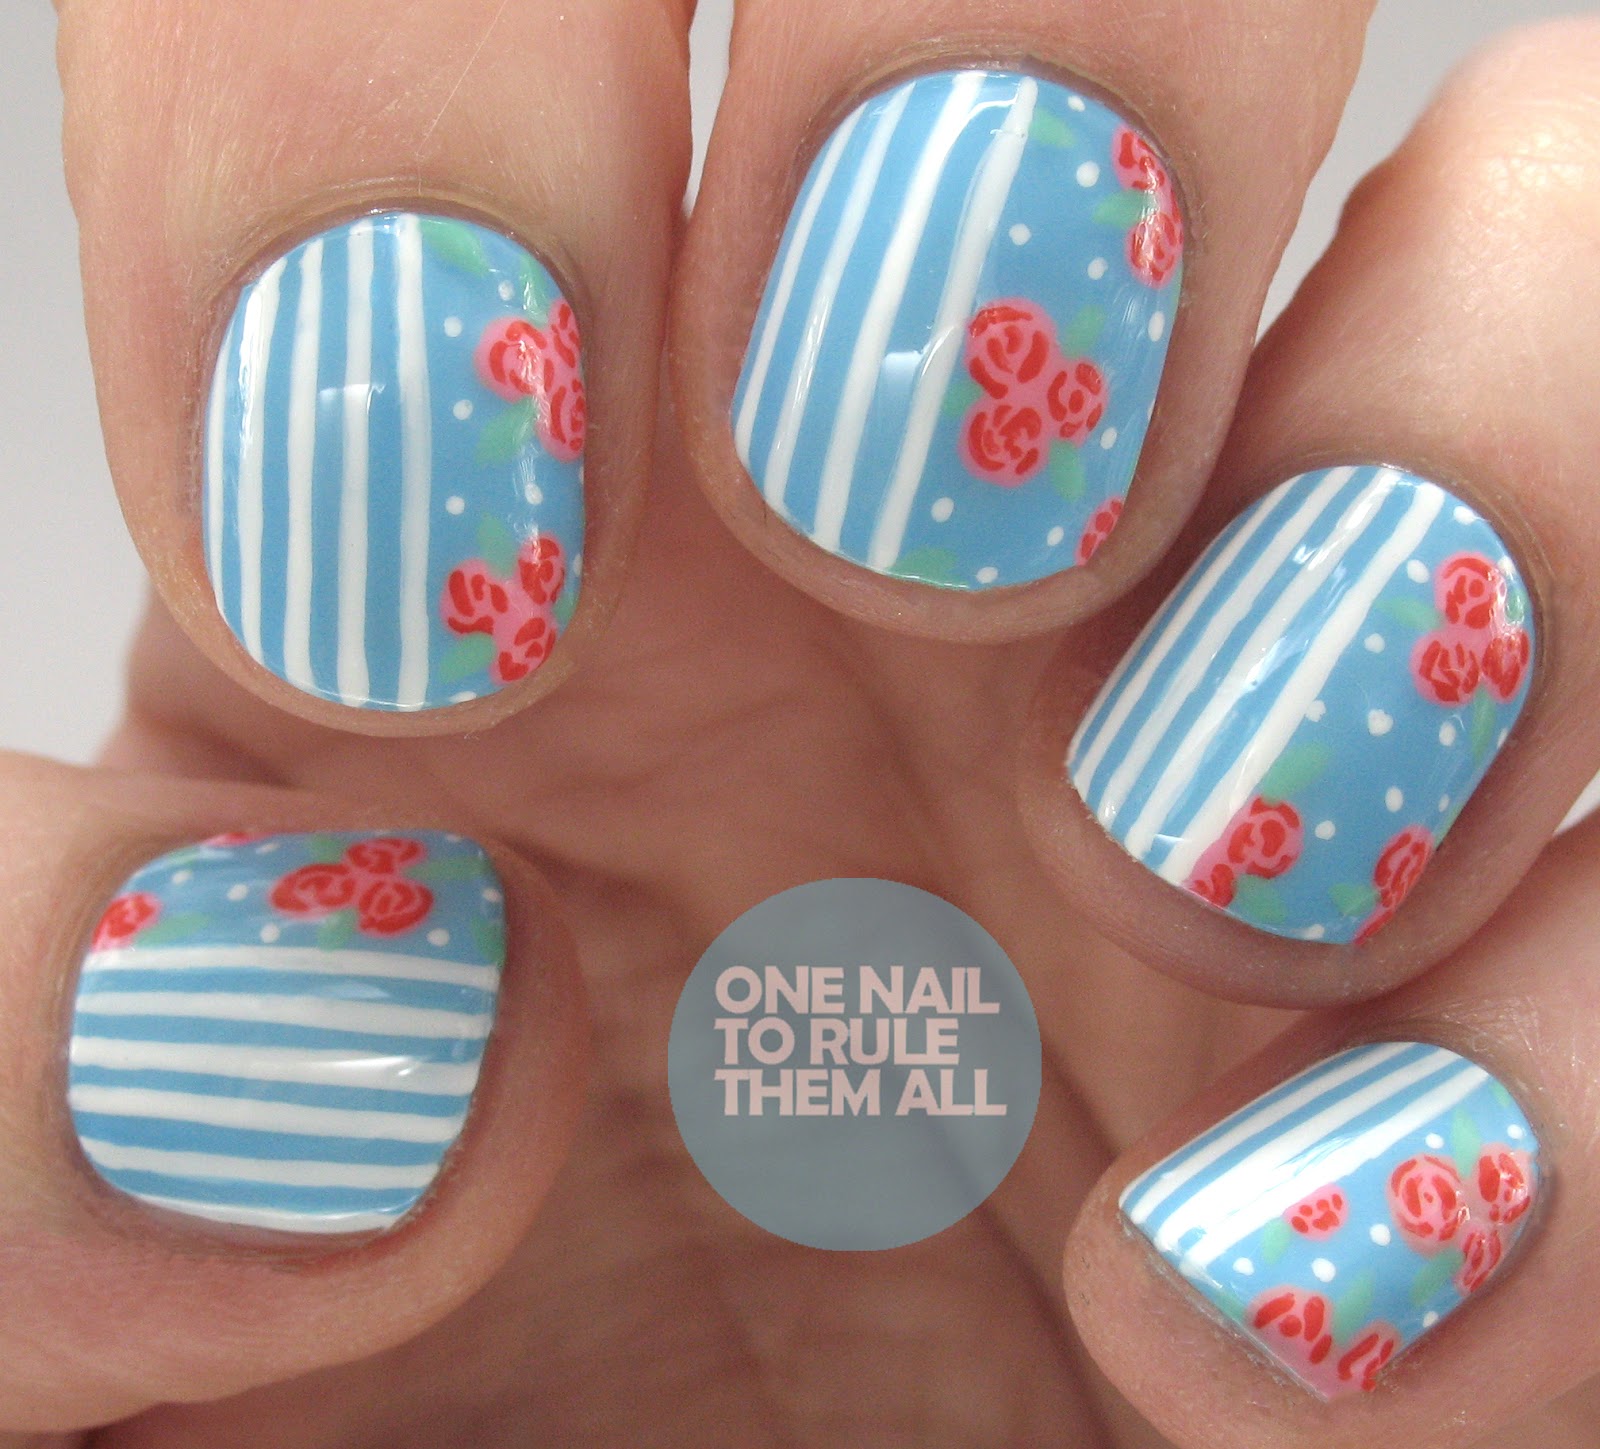
The base for these nails is Barry M - Bug A Blue*, then I used Barry M - Cotton for the white, and Barry M - Pinking Out Loud*, All The Things She Red*, and Empire State of Mint* for the flowers. Finished with a coat of Seche Vite

Step 1: Paint your nails with your chosen base colour, it doesn't have to be blue. I've done this in the past with lilac, but it's totally up to you.
Step 2: Using a striping brush or nail art pen carefully paint stripes down half your nail
Step 3: Using a dotting tool add spots of pink to the other half of your nail
Step 4: Using a small detailing brush add depth to the roses by adding small red lines to the centre of the pink, start from the centre and work your way outward
Step 5: Using a green/mint shade add leaves to your roses with a nail art brush
Step 6: Using the tip of a brush or a nail art pen add white dots in between the roses. When dry, add topcoat to seal in your design.
What do you think? Let me know in the comments!
Alice
love the tutorial. such a cute design!!!
ReplyDeleteBeautiful roses :)
ReplyDeleteAwwww....so beautiful. I love the colors used and super love the design as well. Love it!!!
ReplyDelete