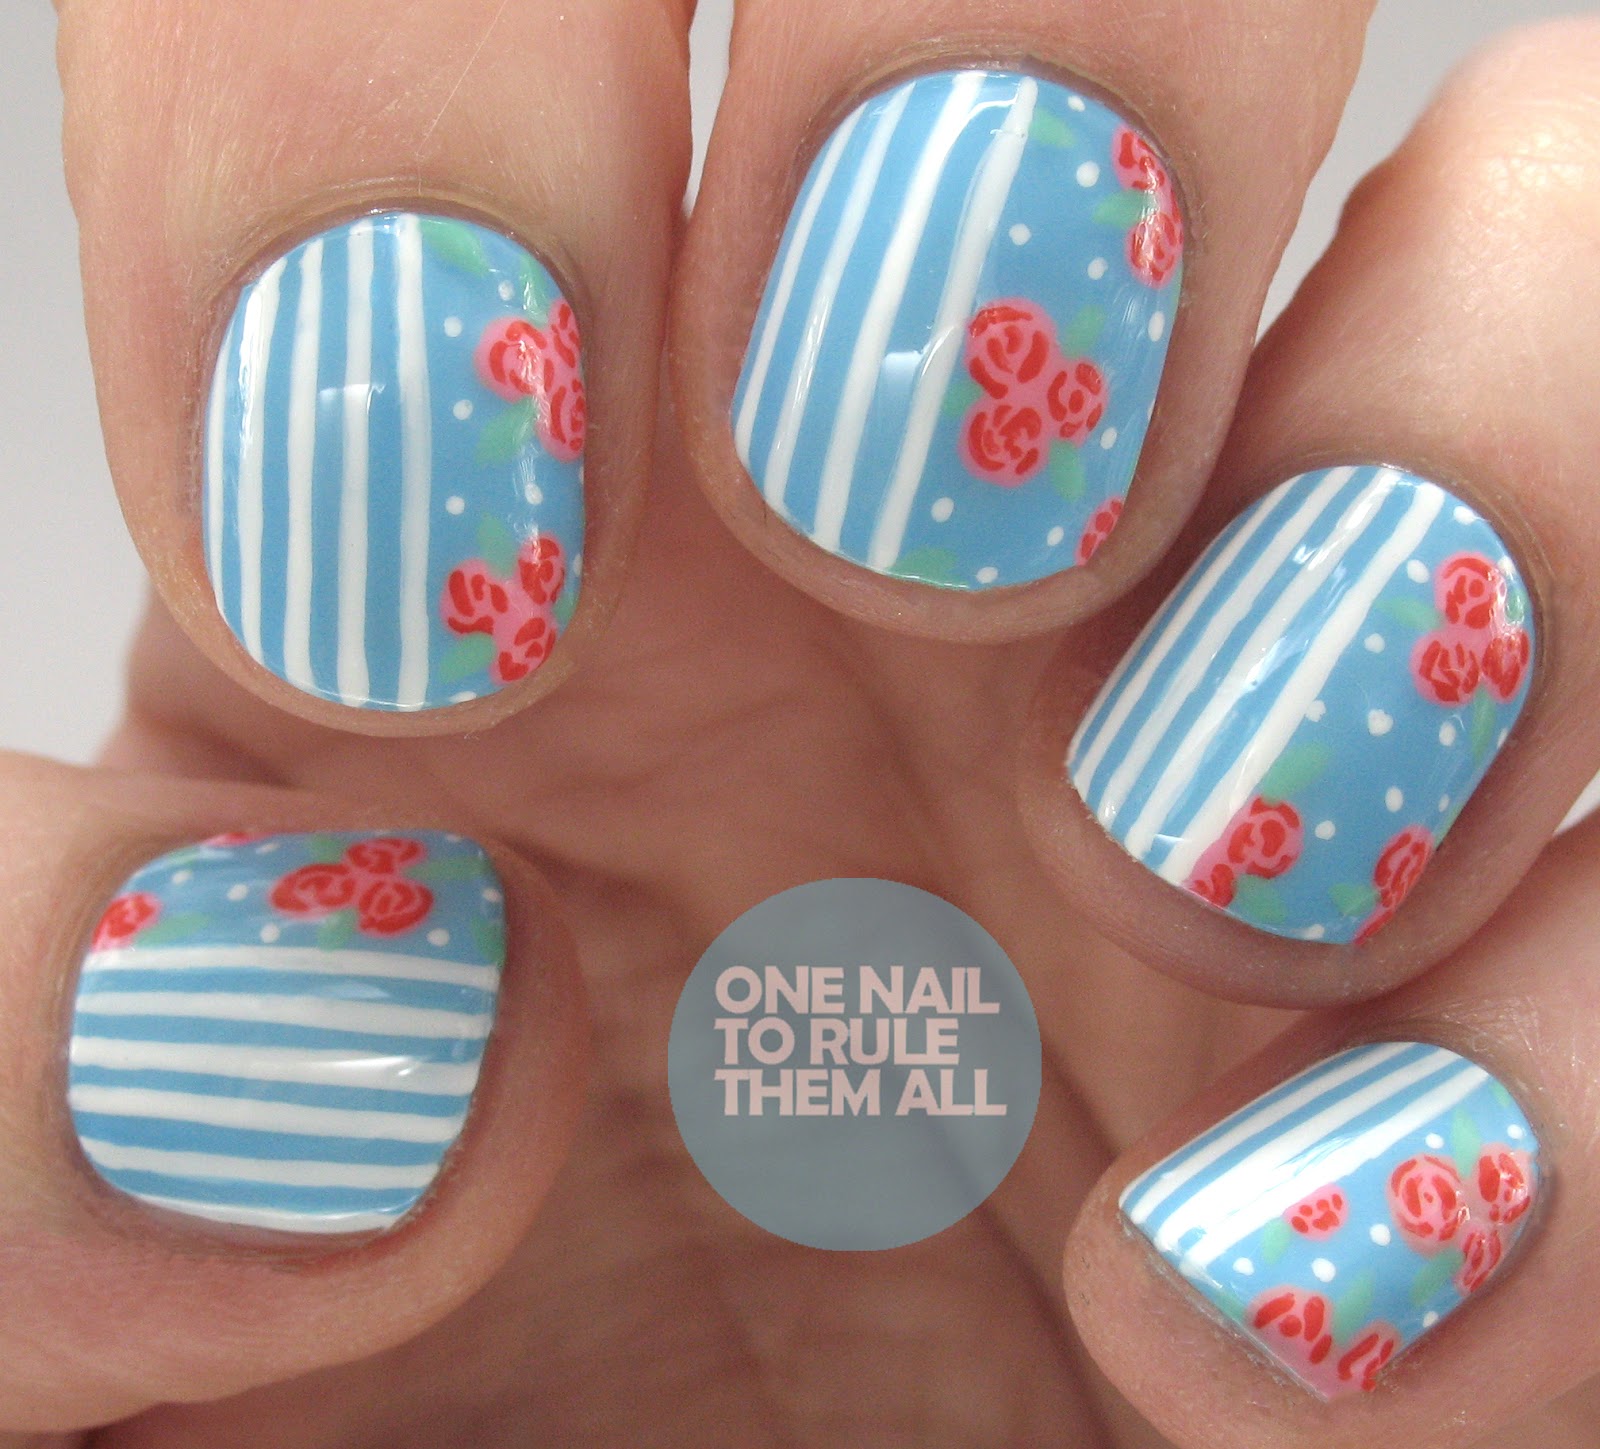
Hey everyone! Today I have a brand new Tutorial Tuesday for you, this time for this gorgeous rose polka dots that you might remember from
here. I had originally intended to post a tutorial for
these bow nails today, because I was absolutely certain that I'd posted this tutorial already. However, after discovering (and double checking) that I hadn't, I decided to push the bow nails back a week and post these instead, considering I promised you a tutorial 'soon' over 3 months ago! I can only apologise for my idiocy.
Step 1: Paint your nails pink
Step 2: Using a dotting tool and white
polish draw dots on alternate nails
Step 3: Using a larger dotting tool paint
on darker pink spots, more loosely than the white dots
Step 4: Using a thin brush paint on the shapes
of the inside of the roses. For this shade I mixed the base colour and the
white together to create a more opaque light pink
Step 5: Using the same brush paint on the
leaves in green.
Step 6: Finish off with a topcoat to seal
in your design, and you’re done! You can also add studs whilst the topcoat is still drying if you wish
What do you think? Let me know in the comments!
Alice